In a nutshell, I’m going to show you how you can do your own bookmarking. See the video and read on further.
Sitting around is not my thing. I’ve been forced to do so because I’ve had surgery recently. I am fortunate to have had a great friend named Suzie Q who helped nurse me back to health with her delicious meals, laughter and patience.
While I was on the mend, I wanted to do something that would not take the life out of me so I thought it would be fun for a girls day or two doing some simple crafty things like making bookmarks and such. So, we did! We had fun cutting mags up and sorting it all together before we pieced the art together.
There are many artisans that have honed this craft far better than I but it’s just a fun thing for me. It’s costly to buy all the items needed to create perfect cards and bookmarks, and photo journals. If you want to make something simple and cool for your friends and family, you don’t need all that stuff. They will appreciate the fact that your hand cut all the paper, painted the art, glued it all together and signed it.
Supplies Needed:
1 .Different types of cardstock or construction paper,
matte or gloss photo paper, wallpaper (optional)
2. Scissors – Straight Edge, Pinked or Craft Scissors
3. Glue Sticks – Heavy Duty Glue (for applying heavier stock and appliques)
4. Watercolor Paints and Brushes
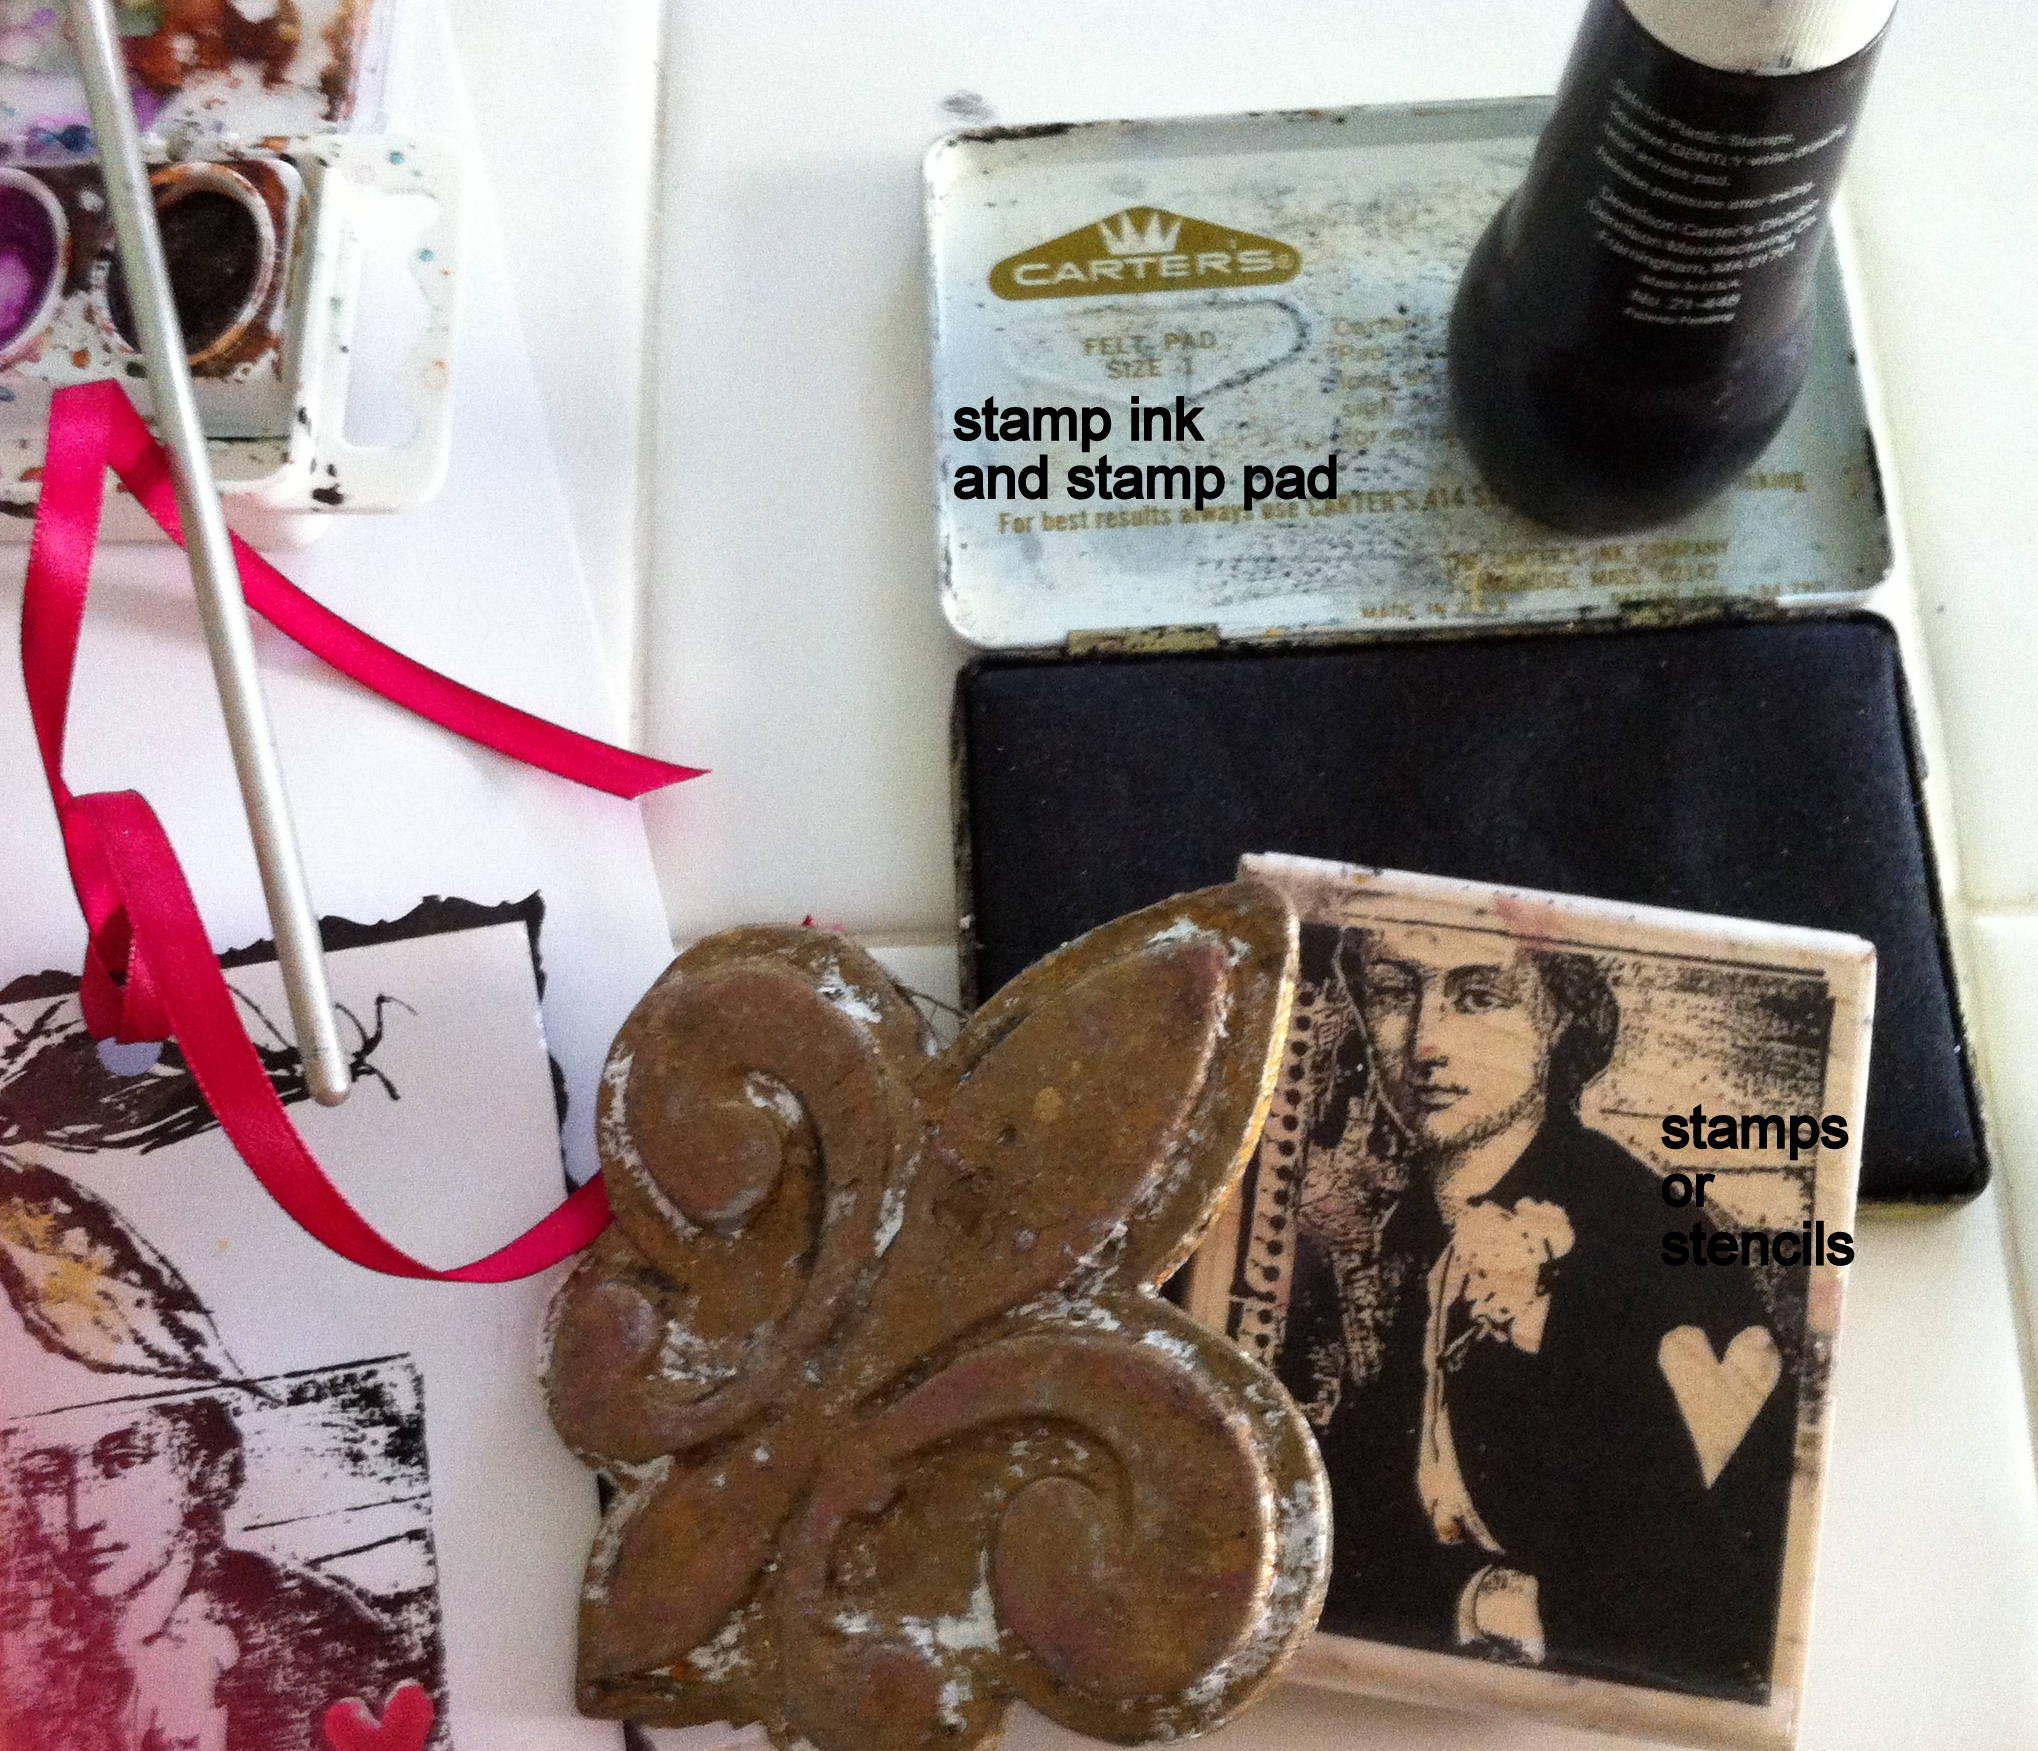
5. Stamping Ink and Ink Pad and Stamps
6. Hole Punch
7. Ribbons
Misc: fun items that would be flat enough for a bookmark but cool enough to apply – like a button, bead, etc. Salt – optional
Next is to have a concept about your design:
1. Who is it for? What do they like? Or, what do you want to make that would
please other people as well. Can you draw? If not, you can cut magazine
images and collage something fun.

2. Figure our the size of bookmark you want to make. You can paint an image
on matte photo stock. That is what I used. Or, you can make the bookmark
a little larger than your stamp. I put the same stamp on one piece of
paper three or four times so I made it easier for me. You can also scan
it and save it for any time in the future if you want to make them again.
See examples in video.

3. Layer your image on another piece of stock that is contrasting in color
or texture. Glue them together.
4. Wait til pieces have dried before you hole punch and put the ribbon
through. You can make them without ribbon as well.
